Have you ever wondered how those busy moms can keep their breast pumping equipment clean even after a long, hectic day? If you are new to the idea of breast pumping, then you might be considering how you can get those parts clean without taking too much of your time.
Lucky for you, the process is very simple and easy to do – especially if you’ve mastered how to do it. And today we will be focusing on one specific part of the breast pump that gets dirty every time you use it: the tubing.
On this article, we will discuss how to clean Medela tubing. Read our step by step guide in order to determine whether using a breast pump is right for you – or if cleaning and maintaining it is too much of a hassle. Let’s get started.
Cleaning Medela Tubing: What You Need
Most moms turn to breast pumping in order to make their busy schedules work. While a lot of moms would prefer to breastfeed their children, sometimes our hectic schedules just won’t let this happen. If you think that breast pumping is a viable solution for this problem, then you’re absolutely right!
Breast pumping is simple, and even the cleaning process isn’t hard to learn. In fact, you only need a couple of things to get it done. These are the things you need in order to clean Medela tubing:
Drinking-quality tap water
Make sure that you only use clean water for this process; otherwise your whole effort will go nowhere. You don’t want bacteria to build up in those tubes – and that’s why you’re cleaning it in the first place. We want to make sure that by the time you are done with cleaning the Medela tubing, it will be ready for use the next time you need it.
Later on we will discuss the step by step process on how to clean your Medela tubing, and for that you will need the tap water to come in different temperatures. You are going to need both warm and cold water.
Liquid Dishwashing Soap
Dishwashing soap is often used for things other than dishes. And unsurprisingly, that includes equipment used for breast pumping. You’re going to need a liquid dishwashing soap for several other parts of the breast pump, such as the breast guard. But for the purpose of this article, we’re only going to focus on the tubing. Liquid dishwashing soap is recommended because it is non-sticky, and is very easy to rinse. Once you do start cleaning the Medela tubing, make sure to completely rinse off the dishwashing soap, as you do not want your breast milk to be tainted with it.
As a side note, you can replace the drinking-quality tap water with bottled water:
Bottled Water
These drinks often undergo a strict cleansing process that specifically target impurities, so that you can enjoy the full benefits of water, without having to worry about drinking something contaminated. Bottled water is also often served cold, which is helpful because you will need cold water later on. Should you decide to go with bottled water, make sure to boil it for a while and set it aside, when the cleaning process requires you to use warm water.
Cleaning Medela Tubing: A Step-by-Step Process for Beginners
1. Getting Ready
There are a few words of caution to go by before beginning the cleaning process. We want to make sure everything is in the right condition so that the breast pump won’t be damaged, and your baby will continuously get the best quality milk from you. For starters, you must make sure to do the cleaning exactly after you use the breast pump. This is to prevent any bacteria from cultivating while you’re gone. Don’t ever leave the equipment dirty right after using it. The longer you keep it filthy, the harder it will be to clean, and the more germs will be able to multiply.
2. Setting it Up
Turn off the power if your breast pump is still connected to the power source. Unplug it and then take apart all of the parts that need cleaning. Set aside all of the parts and keep it away from the parts that don’t need cleaning. In this case, you will want to take away the Medela tubing.
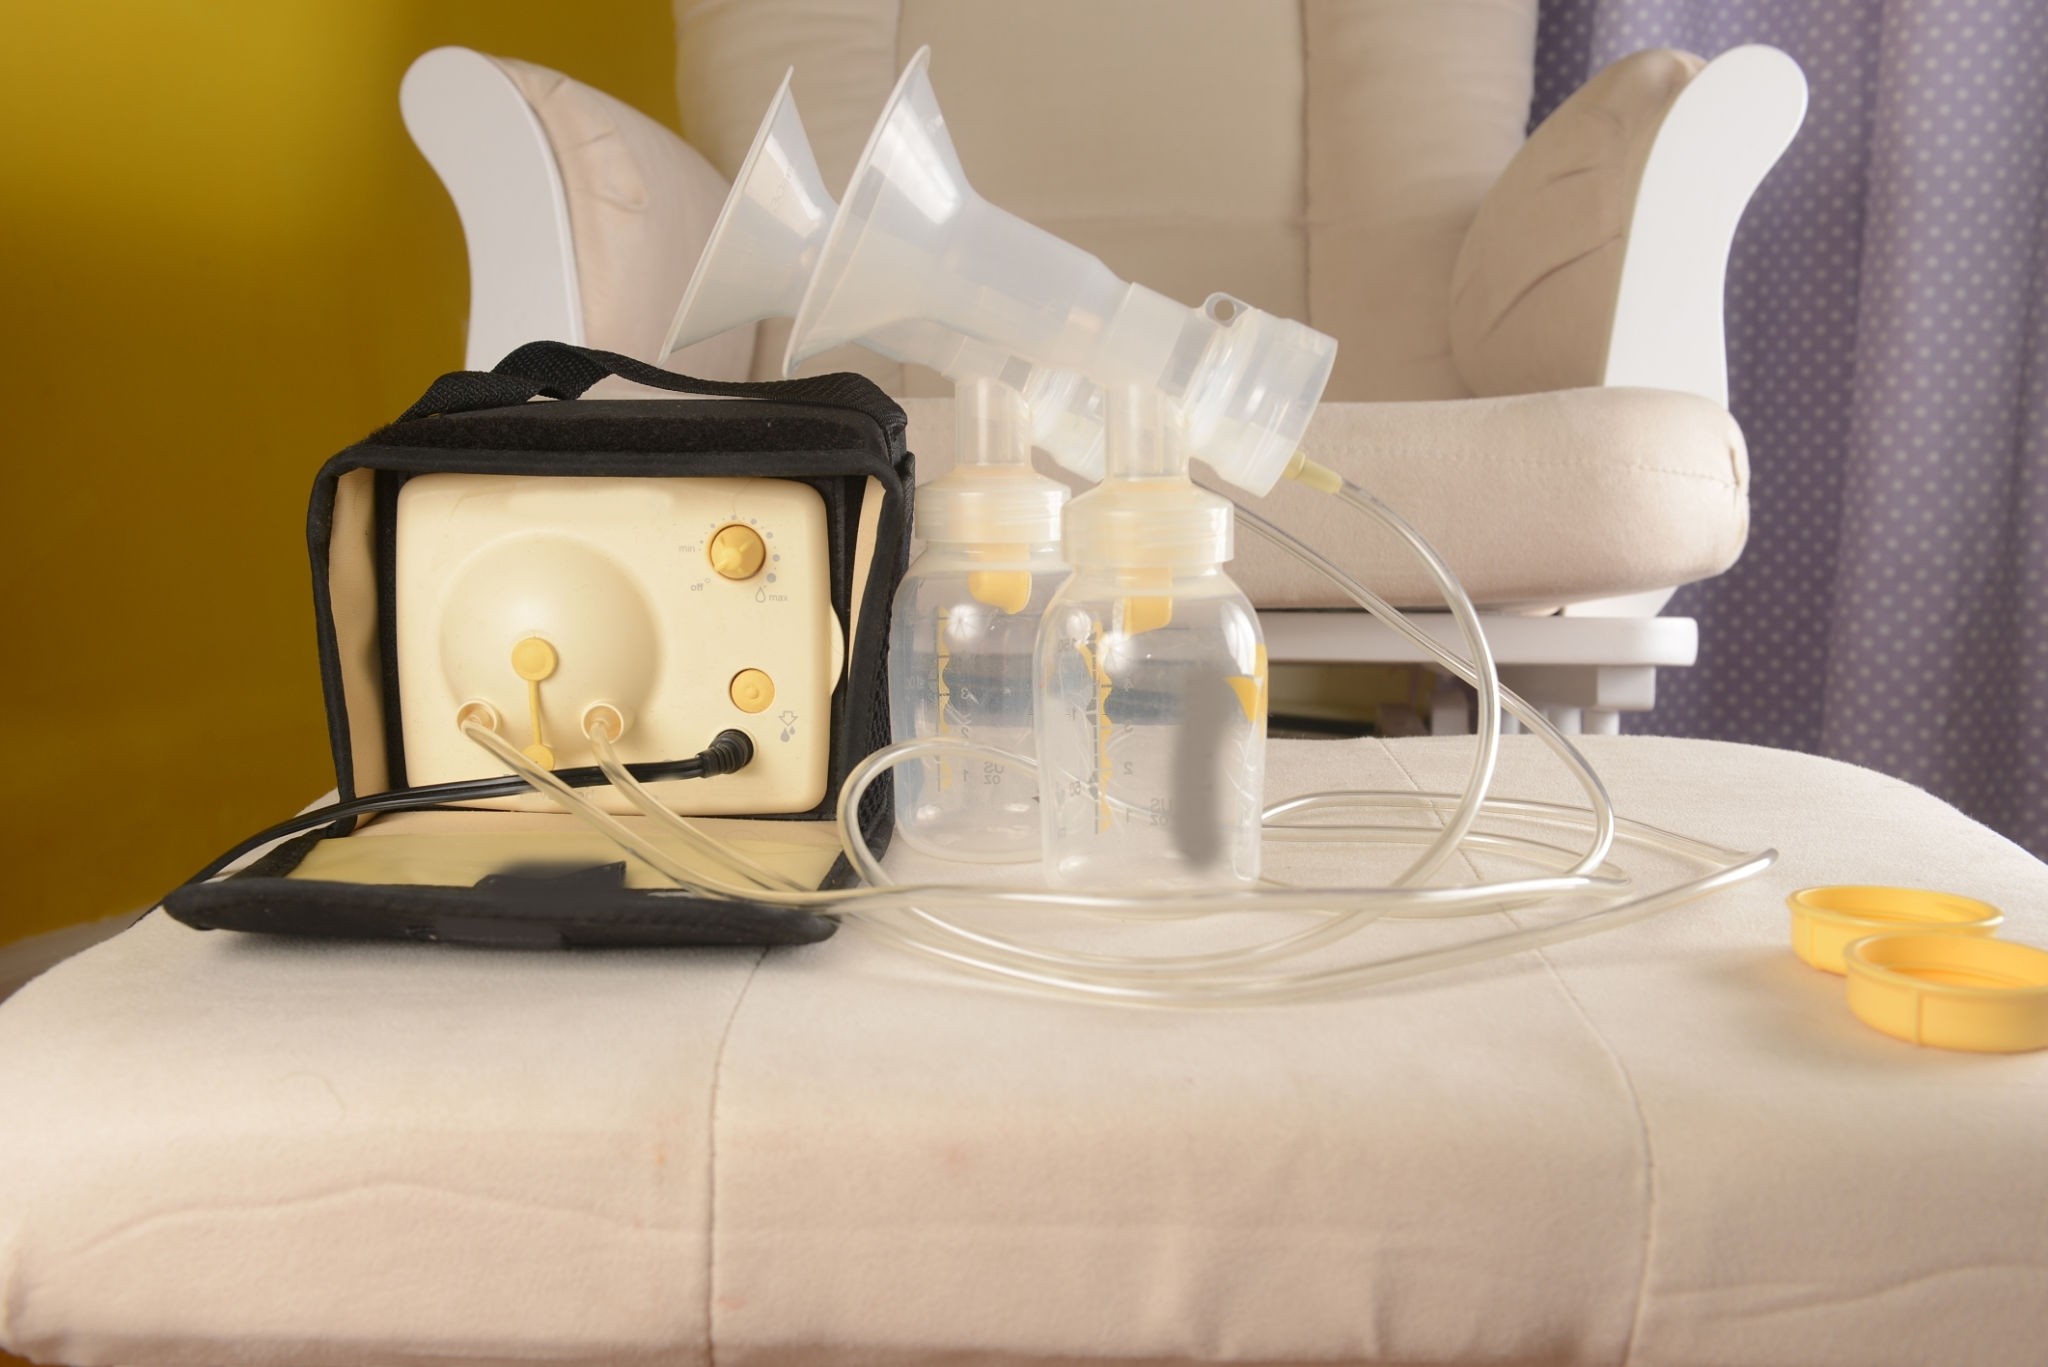
3. Pulling Off the Medela Tubing from the Breast Pump
When pulling off the Medela tubing, be very careful not to pull it at an angle, as this will damage it. Pull it straight from the tubing port without wiggling it. Also pull it off carefully from the breast shield. Inspect the tube and see how much milk is left inside. Empty it out by carefully pouring the remaining drops onto your sink.
4. Rinse it With Cold Water
Here’s where you’re going to need the cold water (either drinking-quality tap water or bottled water). If you can dip it entirely into a tub of cold, clean water, that would be much easier. Otherwise, just carefully rinse off the remaining milk, to make sure the bacteria will have nowhere to stay.
5. Wash it With Soapy Water
Take note, you’re not going to directly pour dishwashing liquid into the tubing. You’re gonna make a mixture of water and soap, and then clean the Medela tubing with that solution. Wash it properly and thoroughly, making sure to cover every spot and eliminating all milk spots that may have been left behind during the first rinse. Rinse it again and remove the soapy water completely. It is best to use warm water for the second rinsing.
6. Hang it Up
Remember: do not ever store any part of the breast pump when it is damp or wet. This will only facilitate the growth of bacteria, which we have been trying to avoid since we began this guide. We only want the very best for your child, and just because you can’t be there to breastfeed them all the time doesn’t mean we’re going to compromise their health. Dry the Medela pump, and then store it in a clean place. If you ever notice that the Medela tubing has become moldy, discontinue using it and get a replacement.
Conclusion
Breast pumping is a delicate decision for some moms. They need to take their time deciding whether this whole process will work for them. And the fact that it is extremely easy to clean the Medela tubing only makes the case that this is truly a valid and convenient option for the mom-on-the-go.
Cleaning the Medela tubing is essential to the proper maintenance of your equipment, but that’s not a big problem because it wouldn’t take more than 30 minutes to do so.
Did you enjoy this tutorial? Tell us what you think in the comments, and share it with your friends!
Hi, This is Emma Baster; As a mom, I spend my free time caring for my kids. I’ve read a lot on the Internet to improve my childcare skill and bring the best to my kids. Eruditemommy shares my knowledge and experience through helpful posts. I hope you enjoy them!